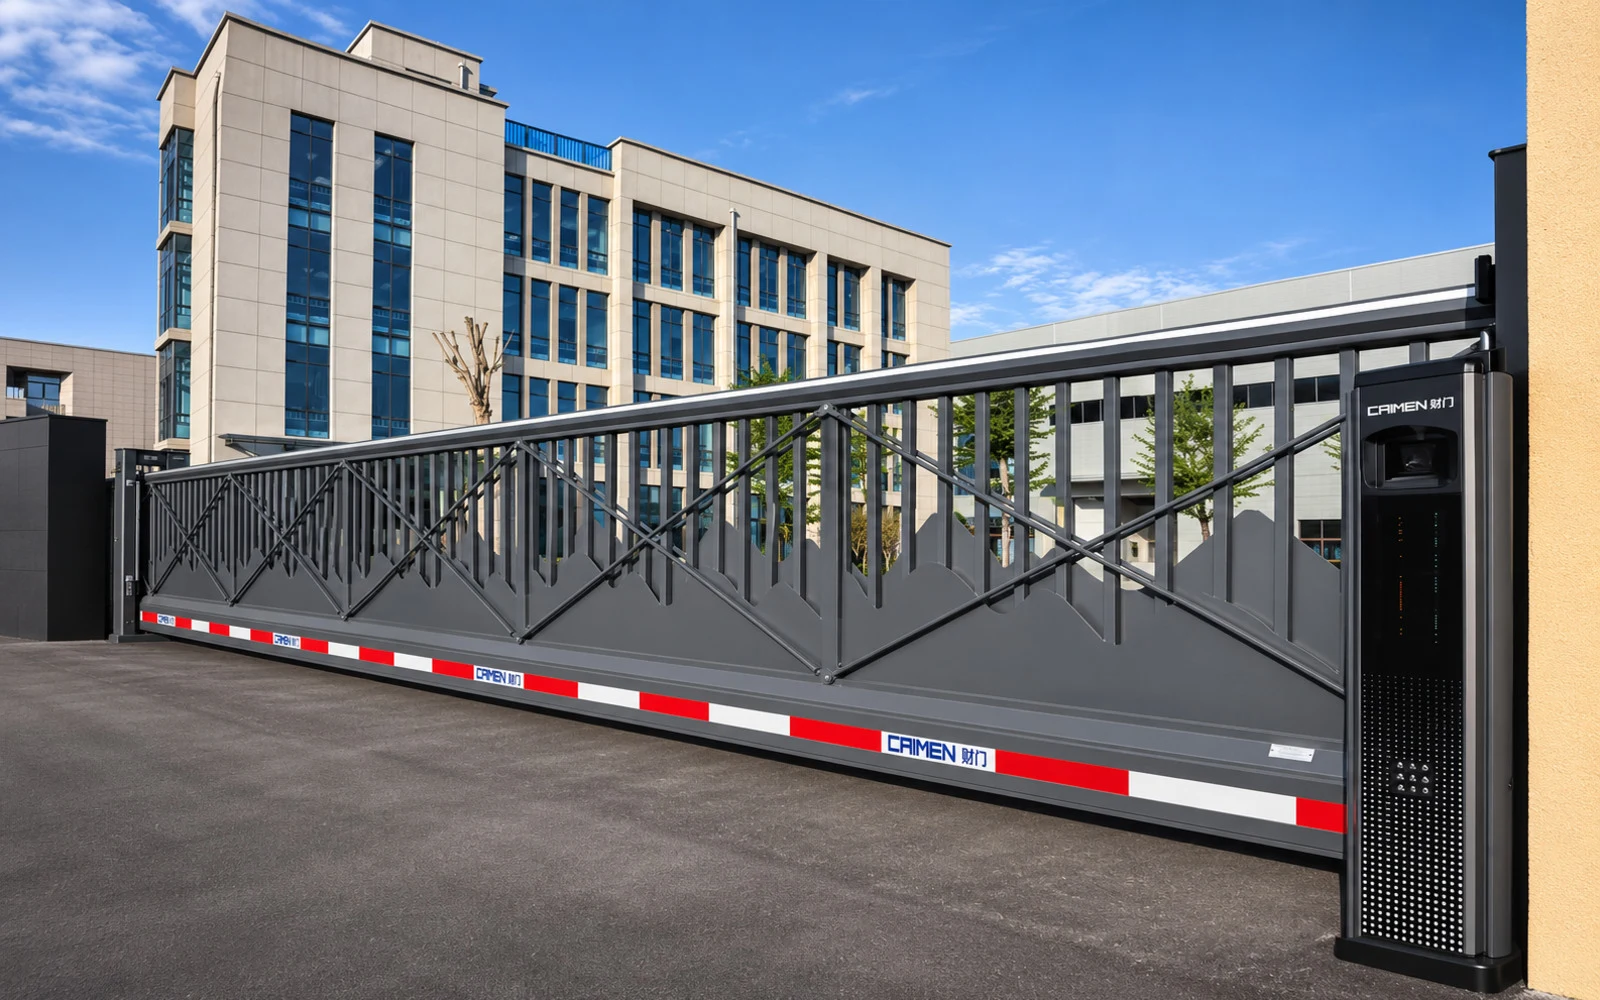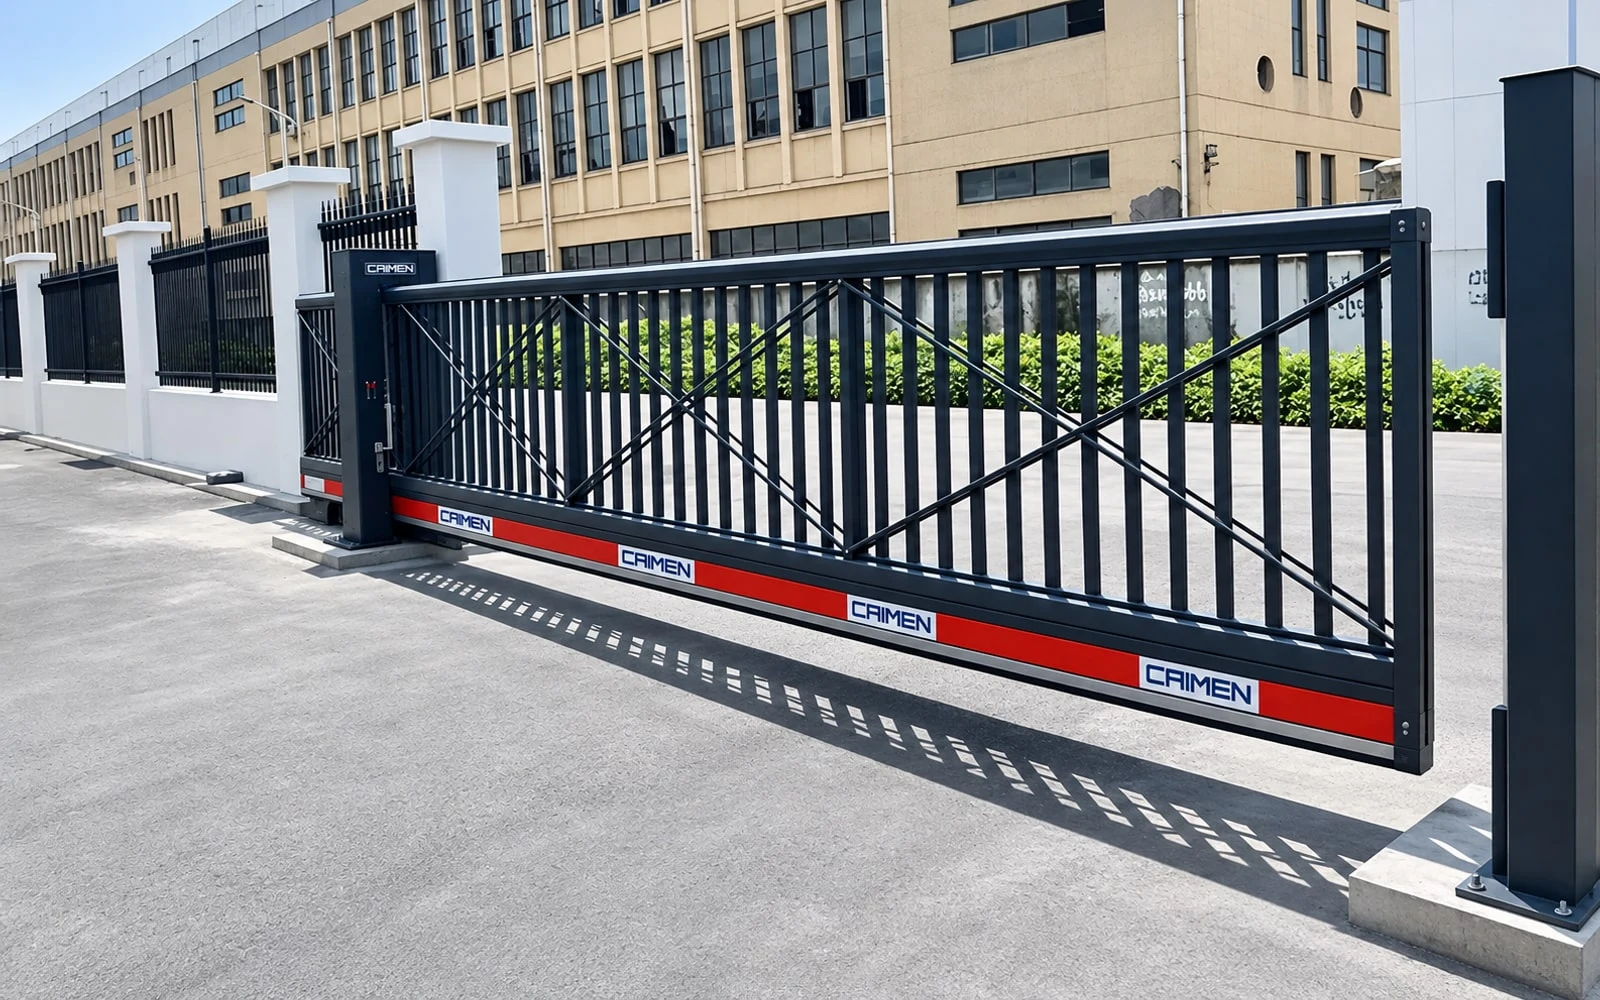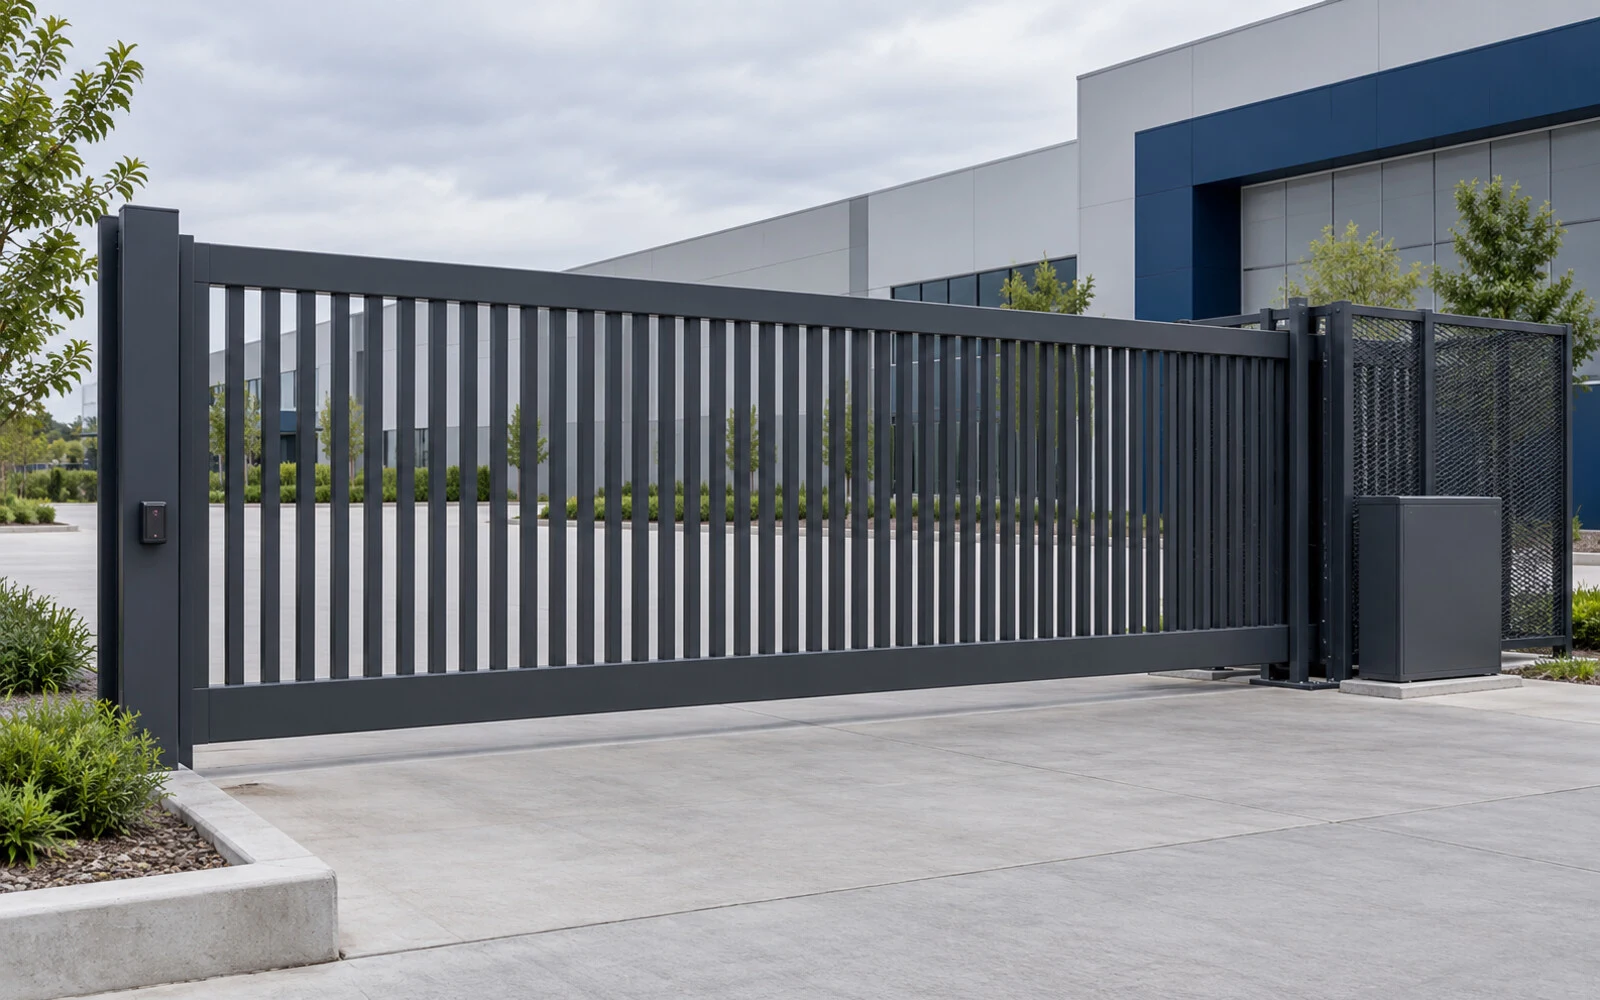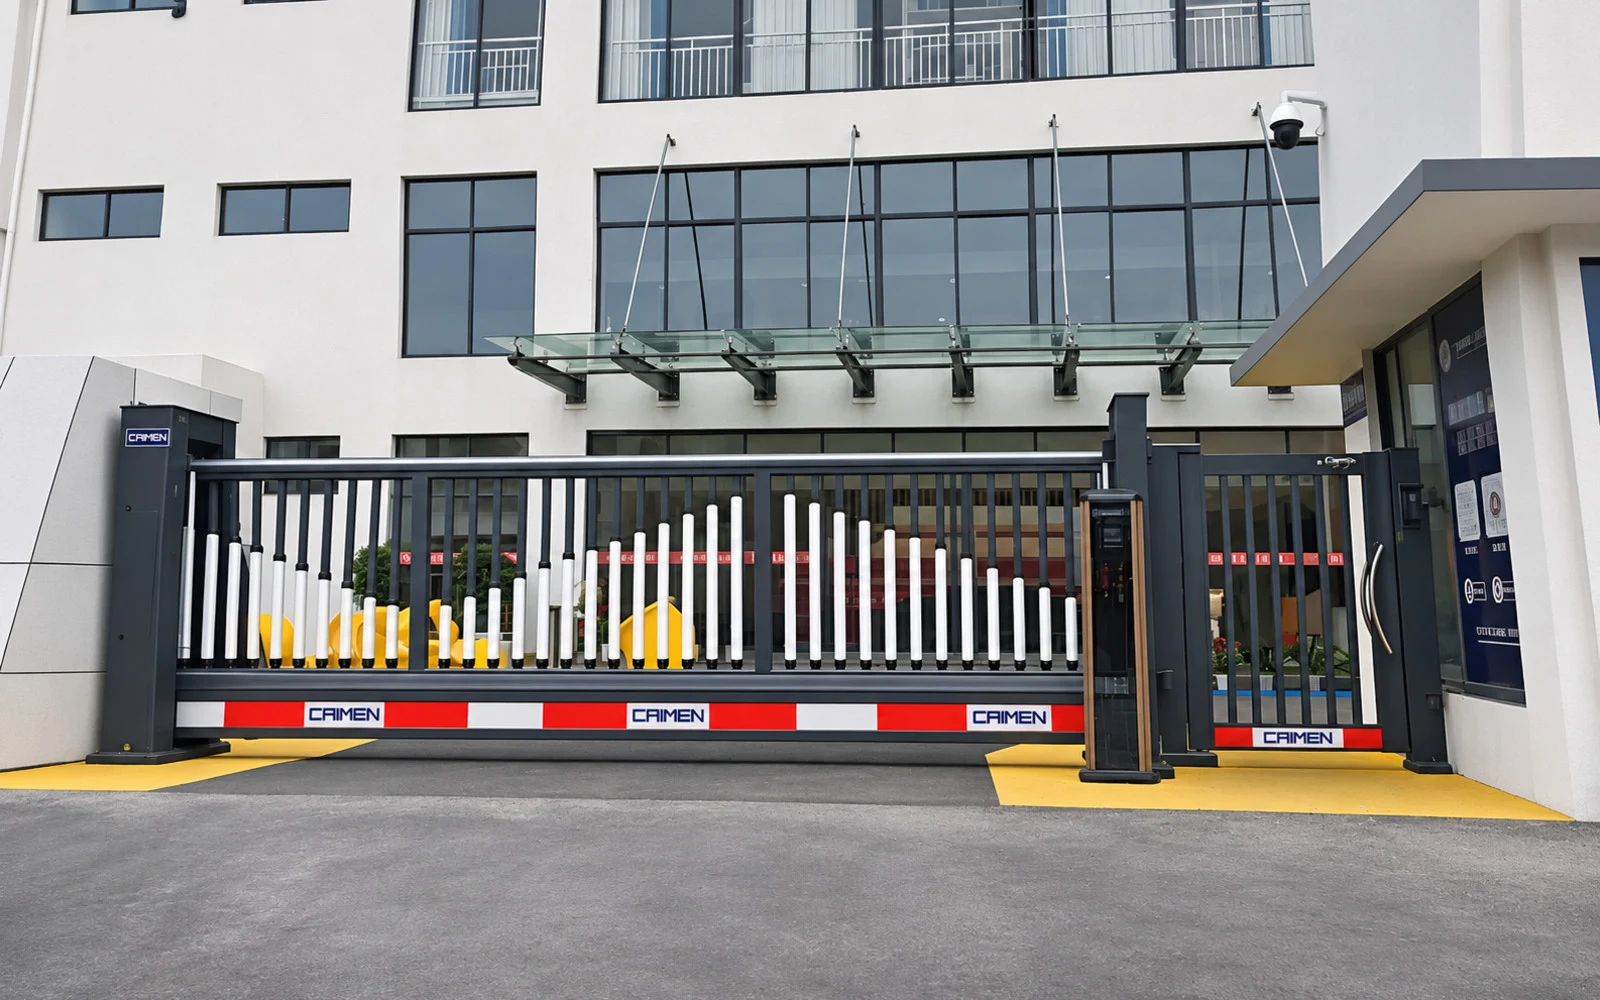
An automatic sliding gate can trap someone at the receiving post as it closes, or pull clothing or a hand into a gap as the leaf slides past a guide post or fixed fence. A photo eye across the driveway only detects an obstruction that breaks its beam. A person beside the fence can be in the gate’s path without crossing that beam.
To see why, follow one cantilever sliding gate in both directions. In the diagrams below, it opens to the right and retracts alongside a fixed fence. When it closes, the same leaf moves left toward the receiving post. The posts and fence never move. What changes is which gaps narrow, which surfaces pass each other, and who can reach them.
Where Sliding Gate Pinch Points Form
In everyday use, a pinch point can mean any place where a moving part can catch a finger, clothing, or something a person is holding. Entrapment zone is the broader term used in gate safety: it can include a space where a person could be trapped between the moving gate and a fixed object. You may also see draw-in zone in operator manuals. That describes a location where the moving leaf can draw something into a gap as it passes a post or a fixed edge.
Walk the layout on paper before looking at devices. Mark the leading edge, trailing edge, support posts, and the part of the fence that the open gate sits beside. Then ask how the site is used: Is there a walkway on the other side of the fence? Can someone reach through the bars? Does anyone wait near the post to operate the gate? Those details can matter as much as the gate itself. If you need to identify the hardware first, see our visual guide to sliding gate parts.
Opening: Check the Guide Post and the Runback
As the gate opens, the entrance looks clearer, but the leaf is moving into the runback area beside the fence. At the guide post, part of the moving leaf passes close to a stationary surface. A hand reaching around the post, or clothing caught on a moving part, can be pulled toward that gap. Along the fixed fence, the moving bars pass the stationary bars. If someone can reach through, the two layers can create a shearing or draw-in hazard even when the driveway itself is empty.
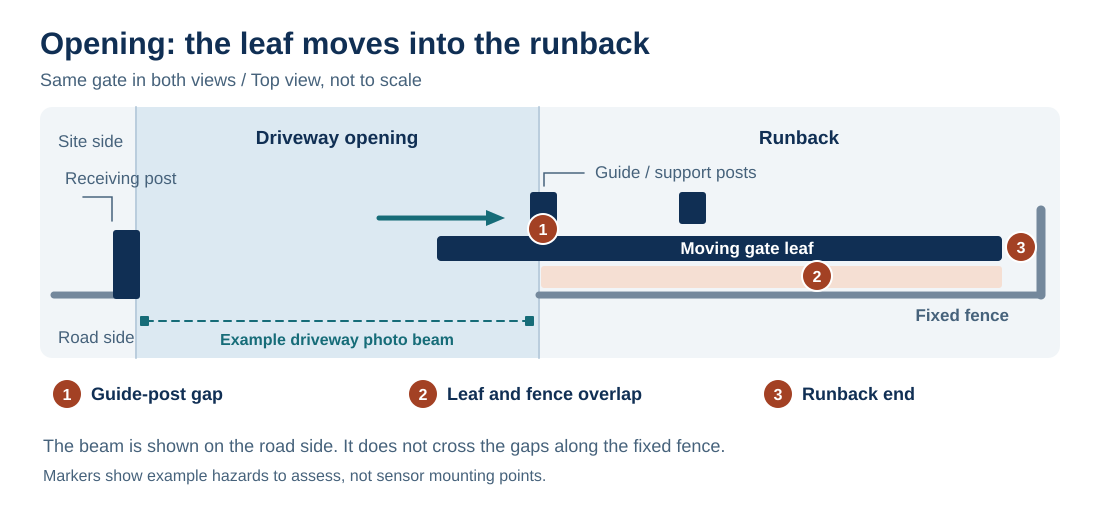
Check the far end of the runback as well. If the trailing edge approaches a wall, return fence or other fixed obstruction, the gap can narrow as the gate reaches the open end of its travel. That is a different hazard from reaching through the fence. A drawing that shows only the fully closed gate can miss both. A cantilever gate has no track across the driveway, but it still needs a clear runback and a review of the points where the leaf passes fixed supports.
Also check any exposed rollers or drive components where someone could reach them. The clearance between a post and the leaf may be unchanged, while a roller and the surface it runs against can still draw something in. On a cantilever gate, the absence of a ground rail says nothing about whether these moving parts are accessible. Review the exposed mechanisms from both sides of the entrance.
Closing: Check the Receiving Post and Side Gaps
On the closing stroke, the most obvious pinch point is the gap between the leading edge and the receiving post. The leaf advances across the driveway and that gap gets smaller. The risk is easiest to see near the end, but the full path matters. A person standing just outside the beam can still be beside the leading edge. The guide post and fence overlap also deserve a second look: reversing the travel direction changes how moving surfaces pass those fixed points.
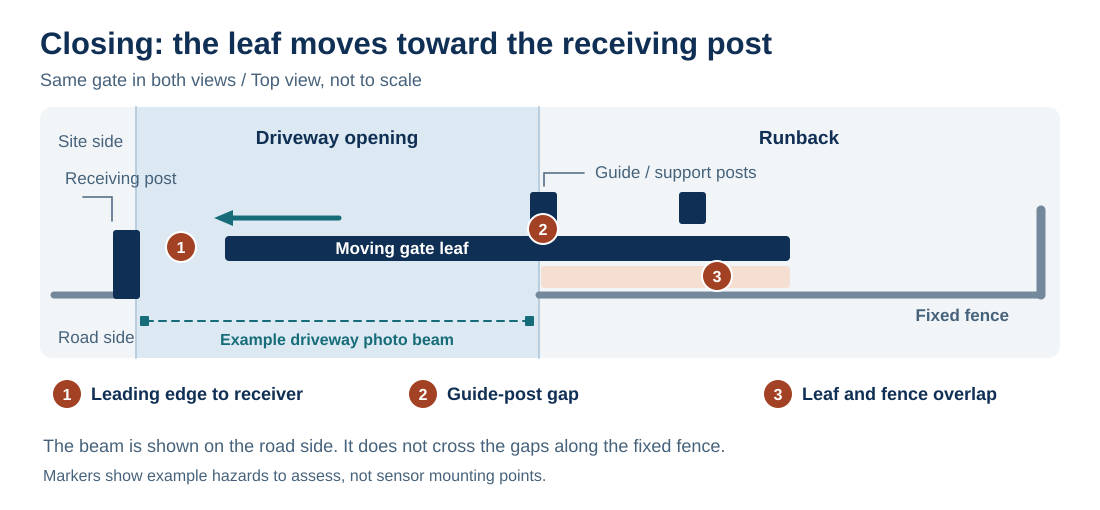
Consider a driveway with a beam on the road side and a service path behind the fence. A delivery van that blocks the beam may trigger the assigned protection input. A person on the service path, however, may never cross the beam and could still reach a moving part. A clear beam tells the controller only that its optical path is clear. It does not establish that the runback, the guide post gap or the receiving side of the gate is clear.
Photo Eyes, Safety Edges and Guards Do Different Jobs
| Protection | What it does | What to verify |
|---|---|---|
| Photo eye or safety beam | Detects a break in the optical path without contact. | Which approach actually crosses the beam, which direction it protects, and whether the sensor is suitable for that safety function. |
| Monitored safety edge | Signals the operator when the sensing edge is compressed. | Which contact surface activates it and how the compatible controller responds. It does not detect someone before contact. |
| Fixed guard or screening | Limits physical access to a reachable gap or moving part. | Whether someone can still reach around, through or past it, or approach from the ends. |
A monitored safety input lets a compatible operator check for certain faults in the connected device or circuit. It does not tell the operator whether the sensor was placed where it can see the hazard. When reviewing a layout, separate three questions: What can a person reach? What detects an obstruction at that location? How does the controller respond in that direction of travel? Confirm the answer for the actual gate and operator; do not assume that every input stops or reverses the gate the same way.
A vehicle loop belongs in a separate category. It detects vehicles within its own sensing area and may be used for opening or hold-open logic. It does not reliably detect pedestrians at a gate pinch point. Our gate loop detector guide explains how that signal reaches the controller.
Example: a walkway is added behind the fence. The gate and its driveway beam have not moved, but pedestrians can now approach the runback. Before choosing another sensor, check whether the walkway can be routed away or whether guarding can prevent access to the moving leaf. Where a hazard remains, the installer needs to confirm which protective device can detect an obstruction there and which gate movements that input affects. This is why changes to a fence or walkway can require a fresh review even when the operator has not changed.
What to Check Before the Gate Goes Into Service
Start with a plan showing the gate closed, partly open and fully open. Include both sides of the fence, any wall at the end of the runback and all pedestrian routes. A tight space on the public side and an accessible gap inside the site are both worth recording. If an access keypad encourages someone to lean across the moving leaf, revisit the layout instead of treating the problem as a sensor choice.
Have a qualified installer review how the design limits access to hazardous areas and verify the protection and operator response for both directions. Ask for a record of which device covers each area, which input it uses and how its operation was checked. Repeat the review if a new fence, wall, access reader or walkway changes how someone can approach the gate. If an installed gate reverses unexpectedly or will not close, record the symptom from a safe position and see our guide to gates that won’t close. Leave protective devices in service.
The handover record should be easy for the next technician to use. For each location, note the movement that creates the risk, who can reach it, how the site limits access, and what device and controller response apply if protection is needed. Keep a marked-up photo or plan with the record. For instance, “driveway beam” alone says little; “road-side beam, verified for the closing input” tells the reader where it is and which behavior was checked. It still leaves a separate line for the runback.
Frequently Asked Questions
Can an automatic sliding gate trap someone while opening?
Yes. As the leaf retracts, it passes fixed supports and can move alongside a fence or toward a wall. The points to check are where people can reach the moving leaf and where the clearance gets smaller or moving and fixed surfaces pass each other.
Is one photo eye across the driveway enough?
One beam only covers its own line. It cannot demonstrate protection at a guide post, behind the fence or at the back of the runback. Device selection and placement depend on the actual hazard locations, operator and applicable requirements.
Is a safety edge the same as a rubber bumper?
No. A sensing edge is designed to send a signal when compressed. A rubber bumper may cushion contact but does not necessarily provide a signal. Confirm that the specified edge and the operator are compatible and that the installer has verified the response.
Does a solid fence eliminate the runback hazard?
It may limit reach through the fence, but access from either end, the guide post gap and the space at the end of travel still need review. Check the whole boundary of the runback, including maintenance access.
Should I use my hand to test a safety edge?
No. Keep clear of the gate’s travel and pinch points. Ask the installer to use the operator manufacturer’s prescribed verification procedure and record the result.