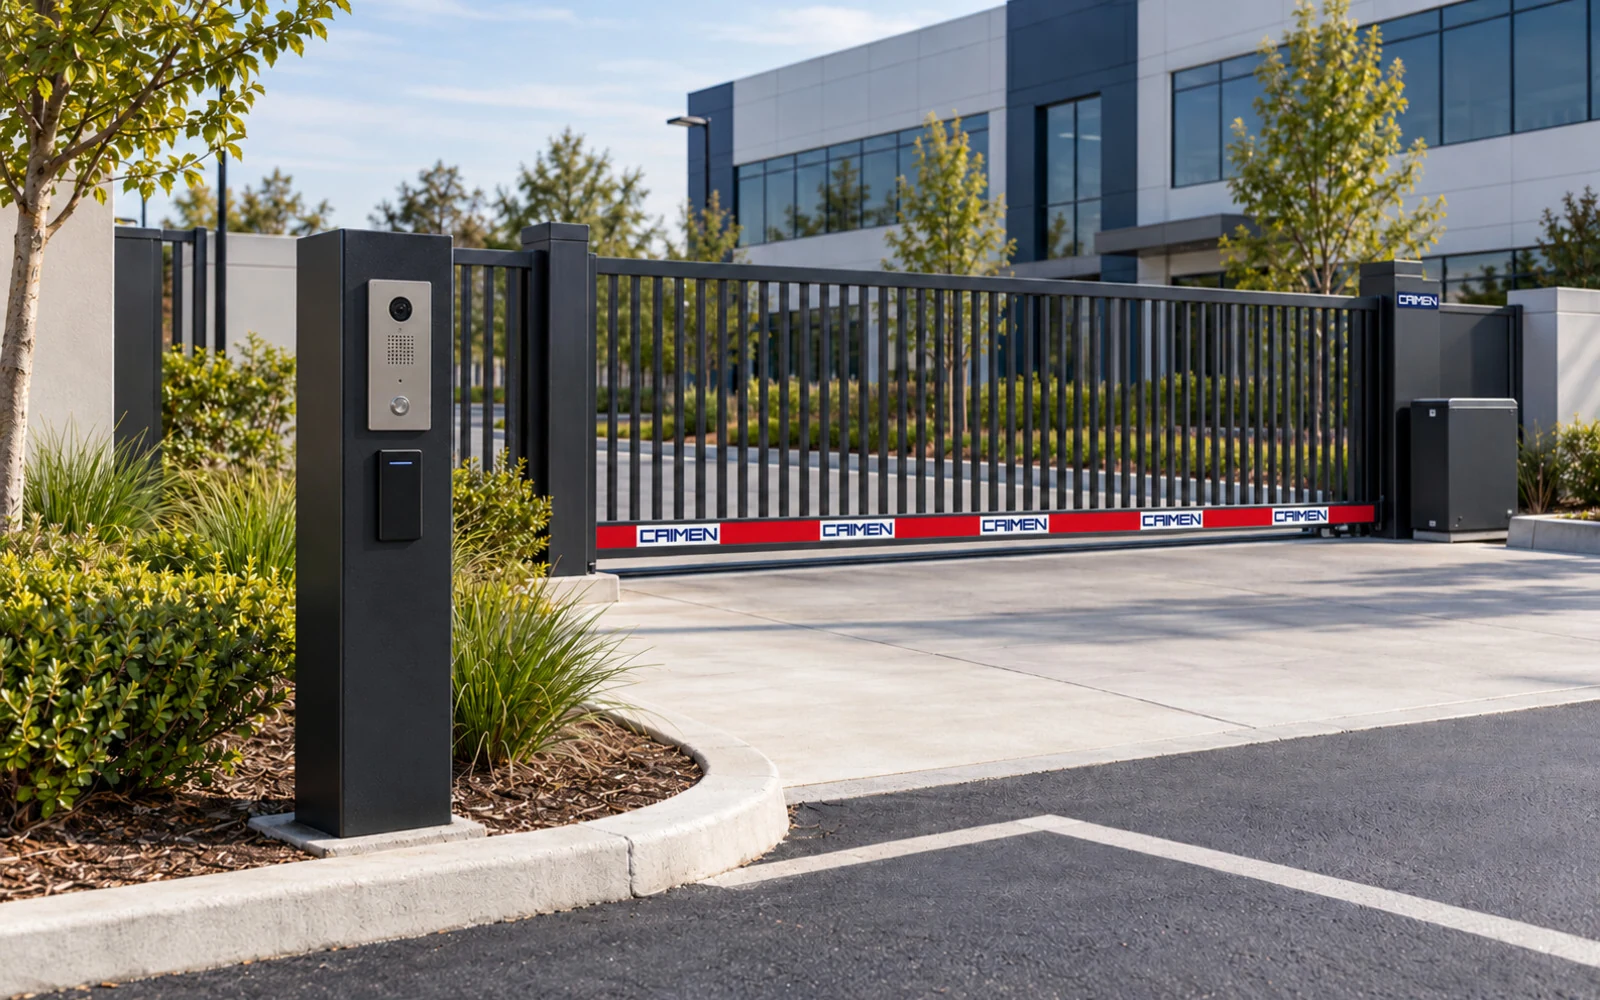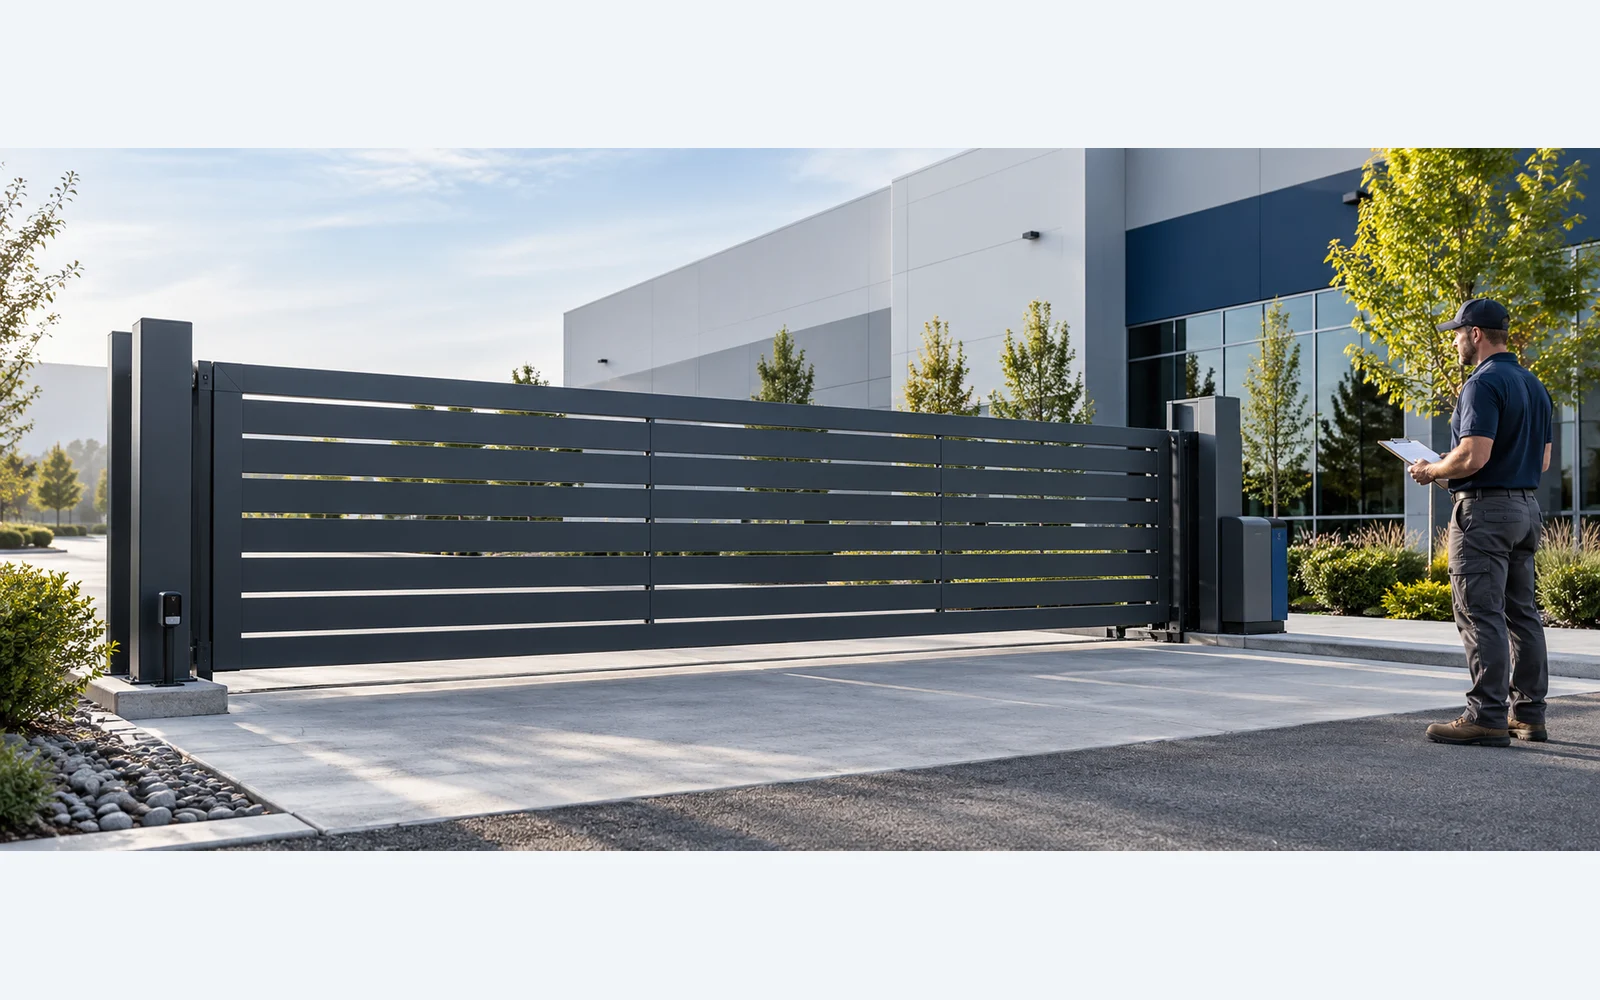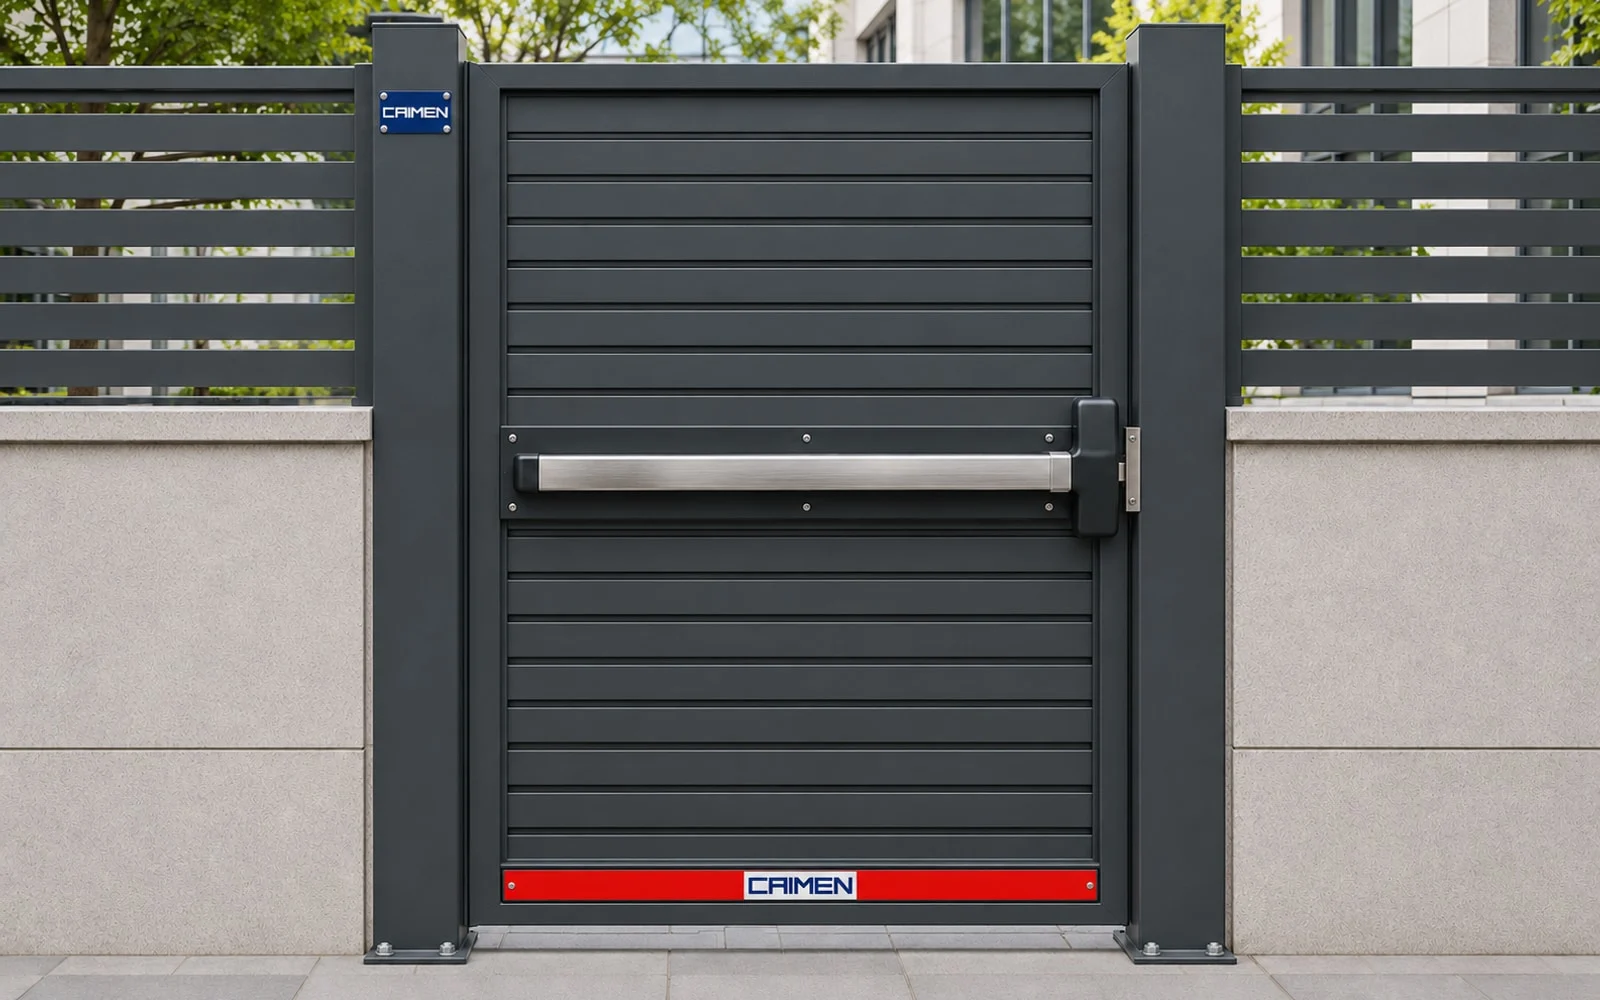
Ordering a gate with panic bar hardware means coordinating the hinged leaf, exit device and latch with the way people leave the site. On a conventional mechanical panic device, pressure on the bar releases its latch so the person can push the gate open. The bar belongs on the exit side, and the gate’s handing and swing must support that operation.
At CAIMEN, we review the gate frame and hardware preparation against the project brief. Send the proposed exit-device model and hardware schedule before fabrication. Your project designer and the local approving authority should confirm the required escape function and applicable requirements; fitting a push bar alone does not establish that the completed entrance complies.
Confirm the exit function before choosing the bar
Tell us where the gate is installed, what area it serves and whether it forms part of a required escape route. A courtyard exit, staff entrance and private garden gate can have different requirements. The adopted rules, occupancy and approved site design determine what is needed. Avoid copying a hardware choice from a visually similar entrance.
If the specification calls for panic hardware, obtain the exact manufacturer, model, function and required listing documents. Panic hardware and fire exit hardware are different specifications. A panic-device listing does not give an ordinary aluminum gate a fire-resistance rating; any required fire-rated assembly needs its own approved specification and evidence.
Our aluminum pedestrian side gates provide a starting point for the leaf design. Confirm the suitability of the proposed gate and exit hardware as a complete arrangement before ordering. The hardware and approval scope should be stated in the quotation.
Show the push side and handing on the drawing
Mark the inside, outside and intended direction of escape on a plan. Show the hinge edge, latch edge and gate swing. A note that says only “left hand” can be misunderstood when people view the opening from different sides. Use a labeled drawing and have the hardware supplier confirm the handing for the selected device.
Check the usable passage with the leaf open and the hardware fitted. Include the approach, landing, threshold and the space swept by the gate. A suitable clear width on the frame drawing does not, by itself, establish an accessible route. Our pedestrian entrance planning guide covers the walking route and surrounding layout.
Prepare the aluminum gate for the selected device
A panic device needs suitable fixing surfaces on the moving leaf and a compatible strike or receiving arrangement on the fixed side. Provide the manufacturer’s preparation template before the gate is made. Agree the mounting rail or plate, reinforcement and fixings with the gate and hardware suppliers.
| Detail | What to confirm before fabrication |
|---|---|
| Device size | Leaf width, permitted device length and preparation template. |
| Mounting surface | Rail or plate dimensions, reinforcement and approved fixings. |
| Latch and strike | Handing, post position and compatible receiving detail. |
| Operating space | Pushpad access, required movement and clearance from other fittings. |
Include the closer or hinge-closing arrangement where the design requires the gate to return and latch. The installed leaf must move freely and meet the strike consistently. Sag, post movement and an unsuitable closer can affect that operation. Confirm the complete arrangement through our custom manufacturing review, including who supplies and installs each component.
Specify outdoor suitability for every exposed component
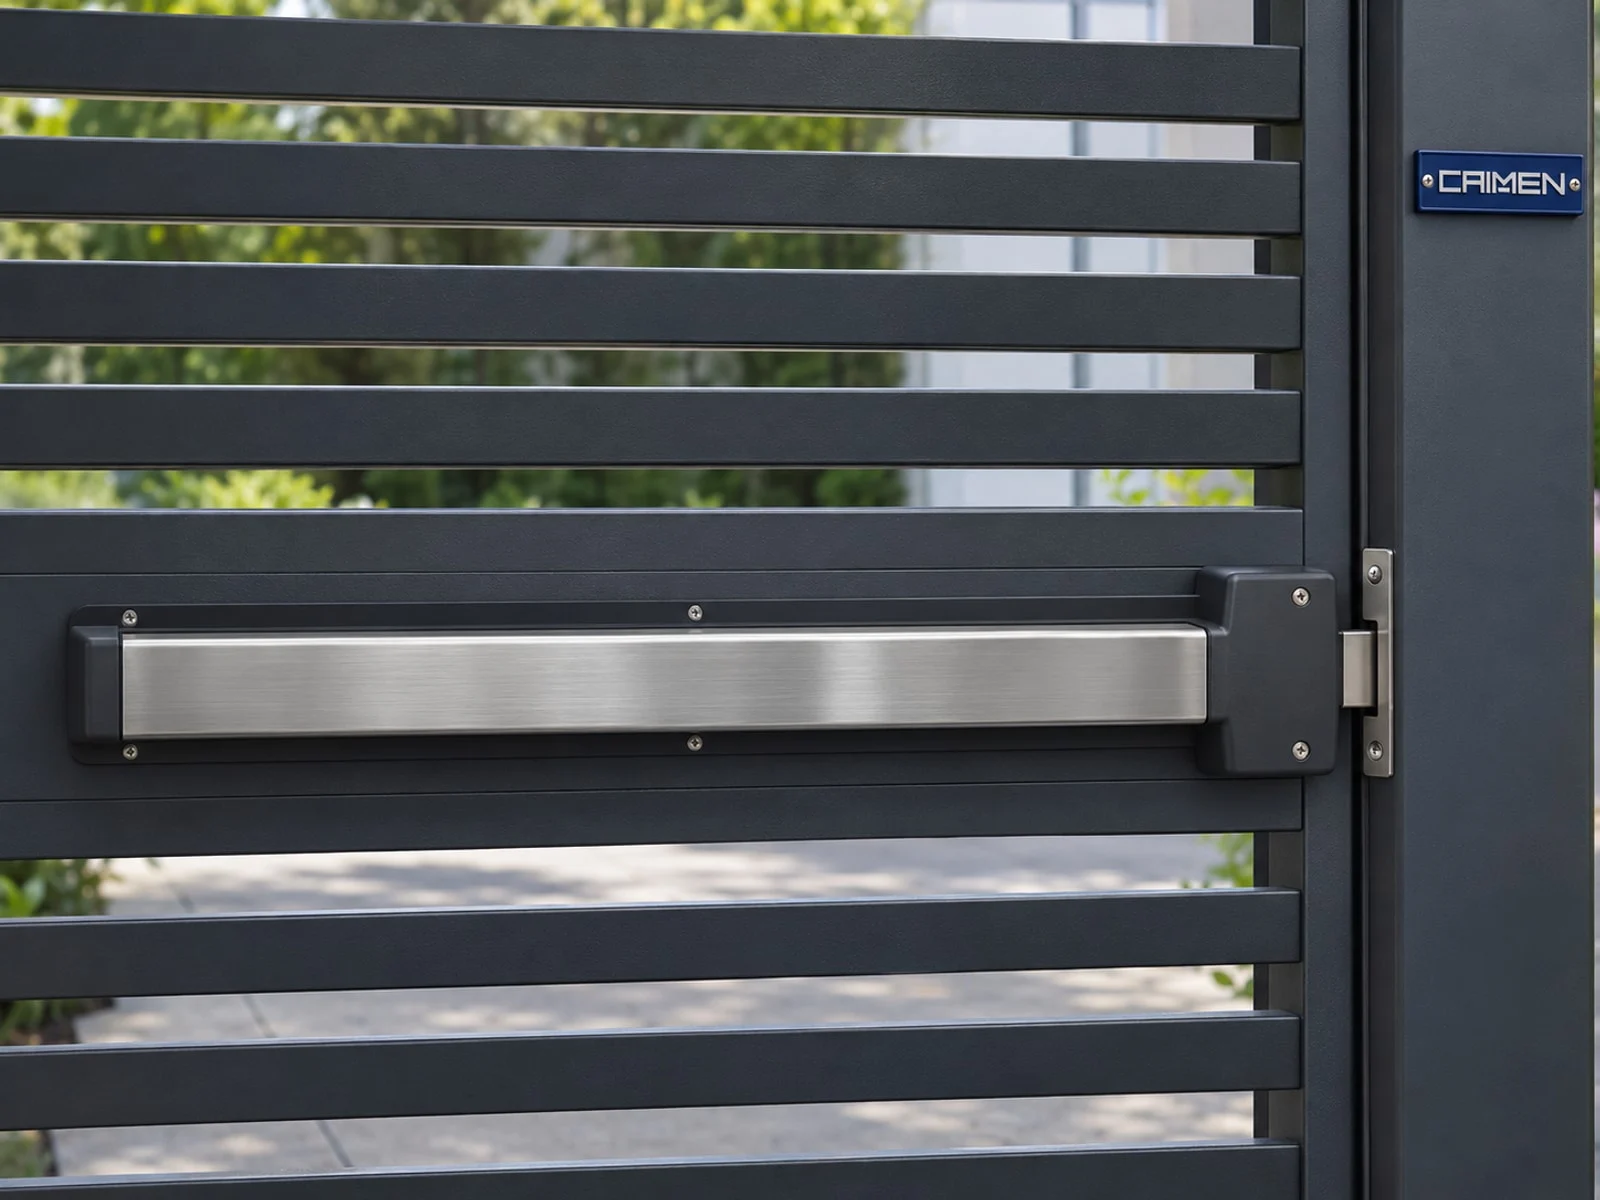
Ask the hardware supplier to confirm the exact device and options for the exposure at the site. Rain, humidity, dust and coastal air should be described in the brief. A stainless-looking cover or an outdoor gate coating does not confirm the suitability of the internal mechanism, switches or electrical connections.
Review outside trim, any electric locking equipment and the closer separately. Request the manufacturer’s environmental limitations and maintenance instructions for each selected item. Keep required drainage or protective features clear of decorative plates and finishes.
Separate outside entry from inside exit
Define how an authorized person enters from outside, then confirm how anyone entitled to use the exit leaves from inside. A credential-controlled outside trim can be specified while the approved exit function remains available from the push side. Required egress must not depend on someone finding a key, using an app or waiting for a remote operator to answer.
If additional electric locking is proposed, have the designer and hardware specialist coordinate its release with the approved exit arrangement. Confirm power-loss behavior for the actual hardware. Some mechanical panic devices retain free exit even while outside entry remains locked; the phrase “unlocks on power failure” is too broad to specify every arrangement.
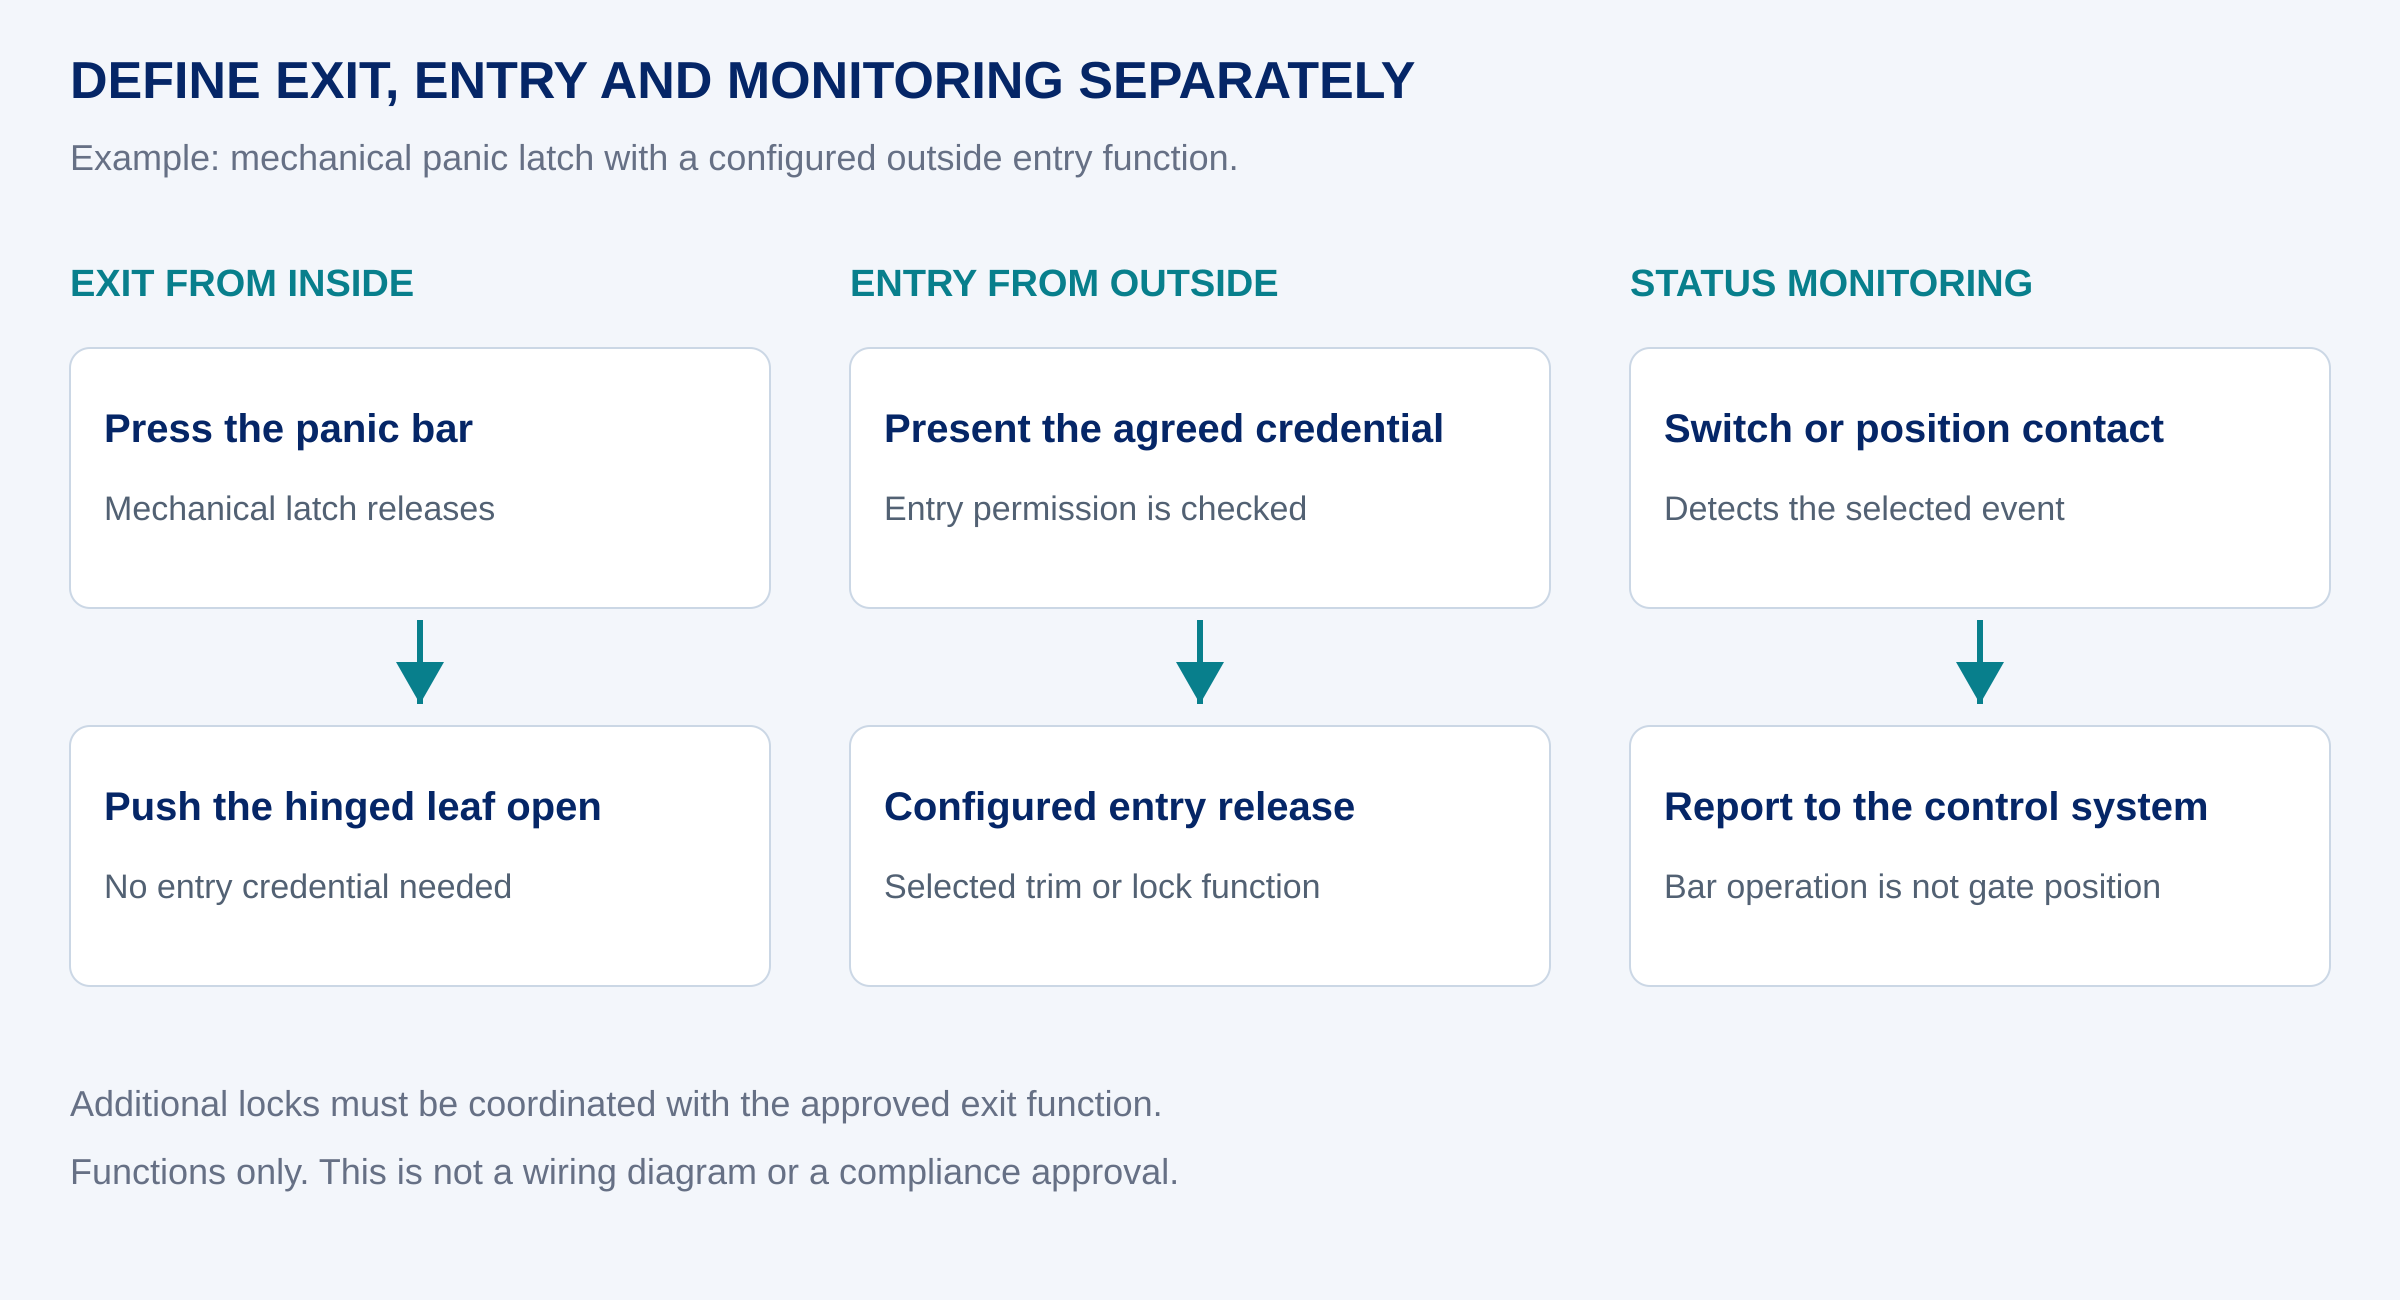
A request-to-exit switch can report operation of the bar, while a separate contact can report gate position. Neither signal alone proves every latch or lock has released. Specify the events you need, and distinguish an alarm that reports an exit from a function that restricts it. Any delayed or controlled egress proposal needs specific project approval.
Our remote access control guide covers visitor and staff authorization. For a panic-bar gate, agree the exit hardware and release functions before selecting convenience features such as mobile access or remote opening.
Review reach-through protection and final checks
An open fence pattern can allow someone outside to reach the inside hardware. Ask for a security review of the infill and any proposed shielding. The detail must preserve the bar’s movement and usability, fit the selected hardware instructions and retain the required passage. A generic plate added after installation may obstruct the device.
Have the installer demonstrate the approved exit and entry functions on the completed gate. Include the specified power-loss and alarm responses where relevant. Do not add a padlock or secondary bolt that prevents required exit while the area is occupied. Record the operating instructions, inspection responsibility and service contact at handover.
What to include in the order brief
- Project location, intended use and the approved exit requirements.
- A labeled plan showing inside, outside, hinges, latch and swing.
- Clear passage, landing details and measured gate dimensions.
- Exact panic device, outside trim, strike and closing hardware.
- Outdoor suitability, electrical options and required monitoring.
- Supply, installation, acceptance checks and maintenance responsibilities.
Questions buyers ask
Can a panic bar be fitted to an existing aluminum gate?
Possibly, after the frame, handing, mounting surface and latch post have been checked. The selected device must fit the available structure and the approved exit function. Send photographs and measured details before ordering a retrofit kit.
Does a mechanical panic bar need power to release its latch?
A conventional mechanical device releases its own latch through pressure on the bar. Electrified options and any additional locks have separate functions and power requirements. Review the whole locking arrangement so the required exit remains available.
Does a panic bar make the gate fire rated?
No. The exit device’s listing and the fire performance of a complete assembly are separate matters. If a fire-rated opening is required, obtain the approved assembly specification and matching hardware documentation before purchasing.
Send CAIMEN the gate and hardware requirements
Send our team the site drawing and hardware schedule, with the project location, clear opening, height and preferred infill. Mark the exit side and gate swing. Include the selected panic-device documents and any access-control requirements so we can review the gate preparation and define the supply responsibilities before fabrication.